In the first two days, in order to let everyone find the feeling of the phrase “upper buttocks down, middle buttocks forward”, I introduced a practice method of lying on the back against the wall. A brief summary is: Lie on your back facing the wall, bend your knees, and step on the wall with your feet to prepare; then push your feet against the wall and rub your body back straight. Through the friction between the mat and the body, the upper part of the buttocks is passively pulled towards the heel. Then tighten the front of the thigh against the bone, sink the back of the thigh to the ground, and bring the mid-butt forward.What is the fastest way of curl tailbone

If you are interested, look for the original text, and the link is as follows: If you want to learn to curl your tailbone, there is the easiest way: lie down and use your feet to push on the wall
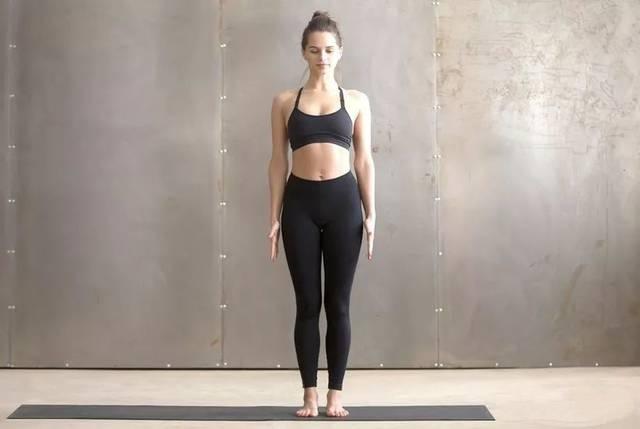
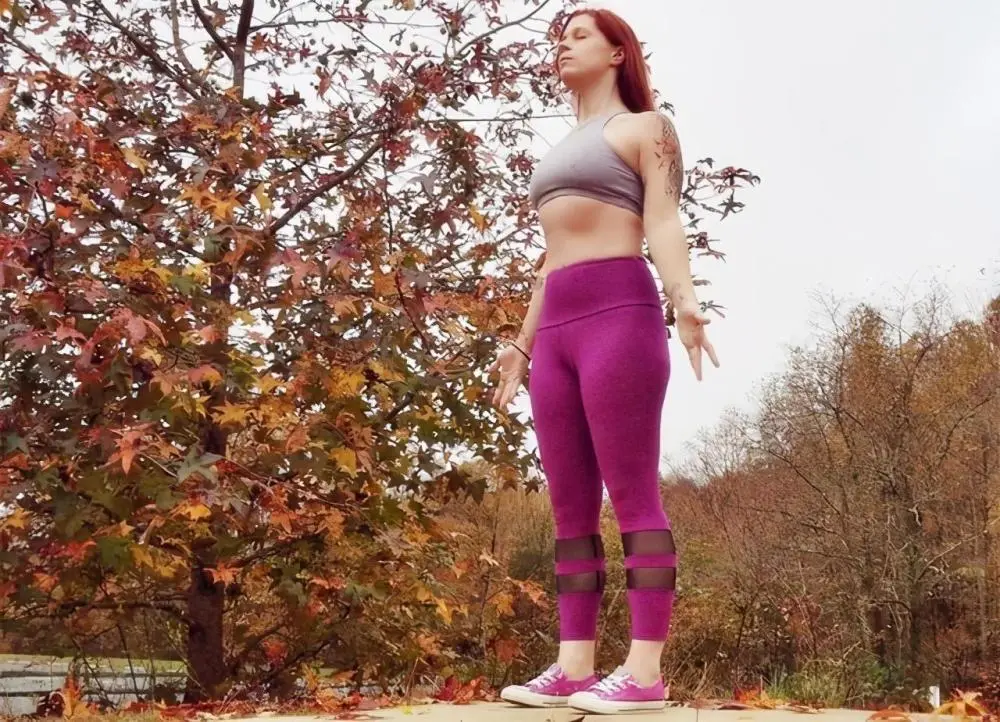
Because I want to use the friction of the mat to find the feeling that the middle of the buttocks is down, I use the supine mountain pose, using the mat as an aid. Someone asked how to practice in Standing Mountain Pose. This article will talk about how to find the feeling of “the upper part of the buttocks is down and the middle part of the buttocks is forward” in the standing mountain pose.
specific practice methods.
1. The upper part of the buttocks is down
Stand on the mat, with your feet together or apart as wide as your pelvis, with the soles of your feet fully extended and the soles of your feet evenly pressed against the mat.
Put your hands on your hips and bend your knees to squat (don’t squat too much, and don’t think about whether your knees are over your toes)
Step on the ground with your heels, push your body up, and straighten your legs up; at the same time, the upper buttocks are down.
This step is equivalent to what we said in the previous Supine Mountain Pose: step on the wall and rub the back of your body straight.

But in Supine Mountain Pose, the upper end of the buttocks is toward the heel, and the friction between the body and the mat when the body slides toward the top of the head pulls the middle of the buttocks toward the heel, which is passive and involuntary.
However, standing on the upper part of the buttocks downwards requires active force to adjust. There is a set of opposing forces here: a foot on the ground is a prerequisite. Legs straight up, buttocks down, one up and down. For starters, you can make the focus a little more specific: the front of the thigh is up, the pubis is up; the upper arm is down. I remember that when I experienced this point myself, I understood it simply and crudely: in this area of the pelvis, “the front side is up, the back side is down”, like a wheel turning. You can try it out and see if it helps you find this feeling more
2, the mid-buttock forward
On the basis of the previous step, after straightening the leg, tighten the front of the thigh and push it back, and the middle of the buttocks forward.
In Supine Mountain Pose, this set of forces is what you need to do on your own initiative, and it’s the same here.

The upper part of the buttocks downward is two forces, one up and one down, and the middle part of the buttocks forward is one front and one back. Keep the pelvis straight while also stabilizing the pelvis. Stability and integrity are equally important.
For starters, you can find these two sets of forces one by one. In the process of straightening the leg, look for the force of “upper buttocks up, pubic bone up”; after straightening the leg, look for the force of “front of thigh back, mid-buttock forward”. Experience these two sets of forces separately, and after a period of practice, you can combine the two sets of forces to practice at the same time.
2.The upper part of the buttocks is down, and the middle part of the buttocks is forward at the same time.
Prepare to do the same, stand and bend your knees
Feet on the ground. During the entire process of straightening the leg upward, the front of the thigh has been tightened and pushed back; the upper part of the buttocks is down, and the middle part is forward.
That is to say, the two sets of forces are completed at the same time.
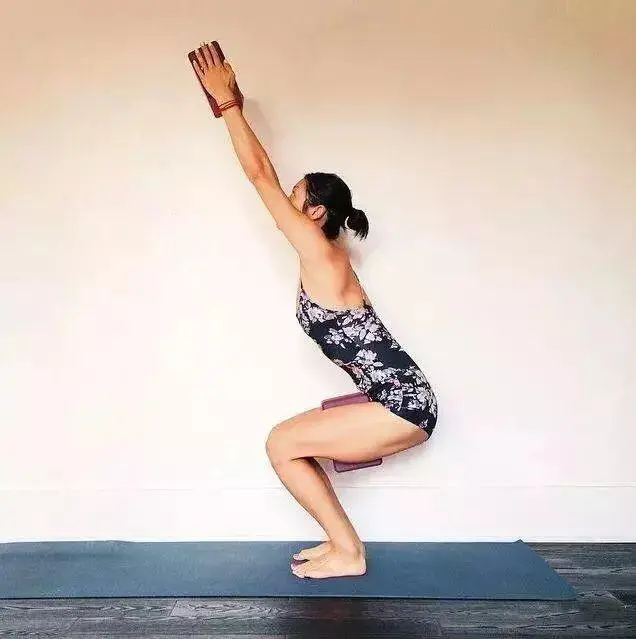
Seeing this, I don’t know if you have thought of another basic standing posture – the magic chair posture. In the process of holding and exiting, the magic chair is exactly the same as the force point here. The next time you practice the magic chair, feel it. You have achieved these two sets of forces, and the back pain of the magic chair will be solved. Combined with the arm lift mentioned a few days ago, the spine is extended, and the magic chair pose is complete. By now you should know the importance of basic asanas. I have practiced yoga for so long, and only today did I know what spine extension is and how to extend it!

A few days ago, we were talking about the mountain pose of lying on the back against the wall. Today we are talking about the standing mountain pose. In fact, you can also practice standing against the wall.
To put it simply: the heels are against the wall, the knees are bent, the sacrum of the upper buttocks is against the wall, and the back is against the wall; the feet are on the ground, the legs are straight, and stand; the front of the thigh is pushed back, the back of the leg is looking for the wall, and the middle of the buttocks is forward.
In addition: If you practice against the wall or on your back, the entire back side will move towards the heel due to friction. In addition to clearly feeling the upper part of the buttocks downward, you can also feel the trapezius pulling downward, that is, we often Said shoulders sunk. Worth a try.
Read more tips about health and fitness http://www.growmorehealth.com
