Recommend a must-have exercise for hip repair
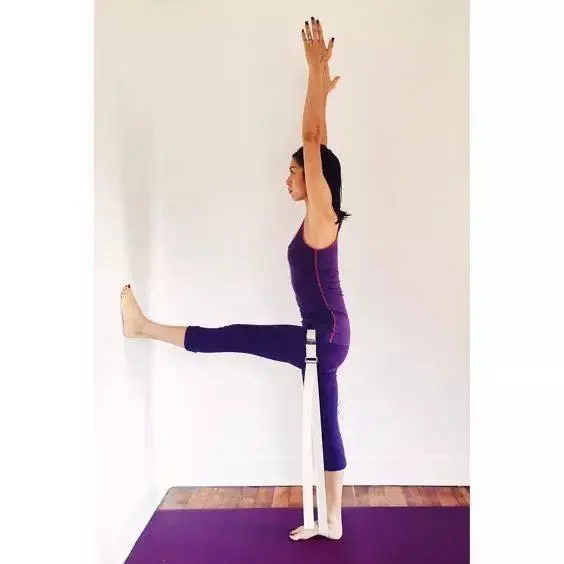
In yesterday’s sharing, I introduced an action that can make the femur more return to the hip groove, increase the stability of the hip joint and repair the hip joint, and raise the leg on the supine with the help of the stretching belt. Today I will introduce to you a version of this asana standing against a wall. An exercise that can repair the hip joint, especially those who are keen to open the hip should practice more! Best exercise for hip repair

The practice of standing against a wall can be seen as an advanced version of lying on your back. He has all the benefits of the supine version, while the standing version also increases muscle strength around the hip joints and in the legs, and the two versions can be practiced alternately.
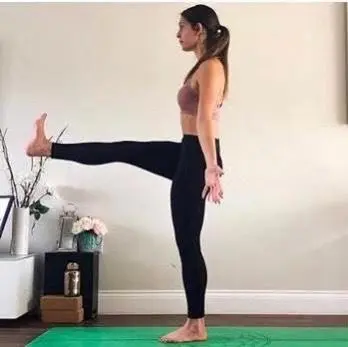
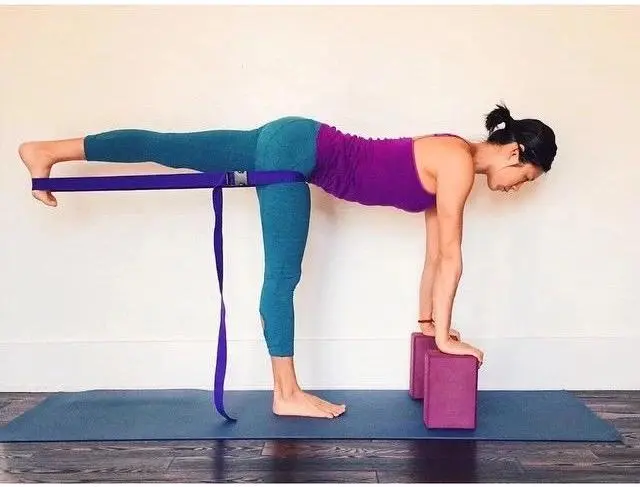
This pose can also be seen as a wall-mounted version of standing and grasping the big toe. Let’s get to know it first. The picture below,
I won’t go into the steps of the exercise. If you can’t catch your toes, you can use a stretch belt. Let’s focus on the key points and details.
- The exact distance between the support leg and the wall Maybe everyone knows the distance of one leg, but how exactly is the distance of one leg determined? Sit down facing the wall, straighten your pelvis, extend your spine, straighten your legs, and step on the wall with your palms. )The following figure

Pay attention to the alignment of the pelvis. If the pelvis is tilted forward and the waist is slumped, the distance will be shorter; if the pelvis is tilted backward and the back is arched, the distance will be longer.
- Stand in mountain pose with both legs, bend your right knee, step on the wall with your right foot, with your toes facing up, straighten your right leg, and keep your thigh parallel to the ground. The process of straightening the leg, remember the cycle of force we have been emphasizing: the big toe pushes the wall, the outside of the leg is pulled back tight, and the right hip is pulled back to straighten the right leg. Remember the confrontation here, there is resistance in the process of straightening.

- When doing supine exercises, we emphasize that one hip of the upper leg sinks down, so that both hips are pressed to the ground. When standing, it becomes double buttocks, not one after the other. Pull your right hip back so your hips are in a flat plane. This is consistent with the lateral retraction of the right hip from the outside of the right leg.

At the same time, the right hip is easily raised upwards, causing the hips to go up and down. Solution: On the one hand, the front side of the right thigh sinks down, that is, the front side of the thigh is pushed back in the standing posture, and the right hip is lowered, which also creates space for the right waist; on the other hand, the bottom supports Tighten the legs and lift up, lift the left pelvis, and keep the hips at a height.
It’s a little harder to get your pelvis straight when you’re standing. First of all, there is no floor as a reference, and secondly, more muscle control is required to ensure balance and alignment, and it becomes a one-legged standing action.
The requirements for the pelvis, the common mistakes and the adjustment methods here are almost the same in the legs apart. You can experience it in asanas such as and Triangle. This is also the two most important points to keep the pelvis straight.
Do not hyperextend your knees.
In this pose, both legs are in a straight state, with the possibility of hyperextension. Be careful not to let your knees drop or push back.

The main points and details of this pose are finished. I don’t know if you have noticed it, but in fact it’s all the same: the foundation is stable, the pelvis is upright, the front of the thigh is pushed back, the knee joint is not hyperextended, and space is created… It’s just that the adjustment method of each posture is different, but The ultimate goal is nothing more than these.
Take the pelvis for example. To put it bluntly: take the mountain pose as a reference, lower the high one, lift the low one, pull the one running forward, push back the one running backward, and retract the one running left and right. In fact, the details and adjustment methods are really that simple.
Read more tips about health and fitness http://www.growmorehealth.com
