Yesterday, for beginners with relatively stiff bodies, I recommended 4 basic actions to stretch the back of the leg and increase the flexibility of the back of the leg. Today I will share with you a set of stretching exercises for the lower back.5 yoga posture stretch your lower back
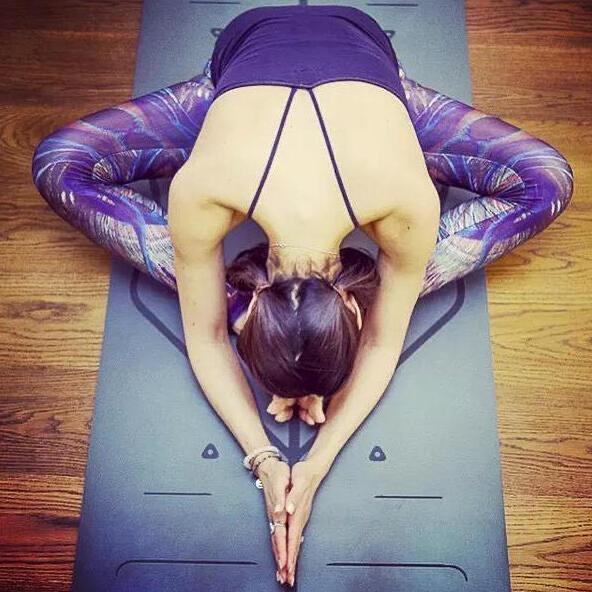
Whether stretching the back of the leg or the lower back is a flexibility exercise that prepares you for a forward bend. If you want to deepen the forward bend, you can practice more.
Today’s 4 moves are a complete tandem series. Let’s take a look together.
1. Cat cow
Kneel on a four-cornered bench on the mat, with your legs apart as wide as your pelvis, your thighs perpendicular to the ground, your knees on the back of your feet, your hands apart and your shoulders as wide as your shoulders, and your big arms perpendicular to the ground.
The pelvis is straight, the spine is extended, and the upper back is full.
When you inhale, bend your hips and slump your waist, and when you exhale, curl your tailbone and lift your back
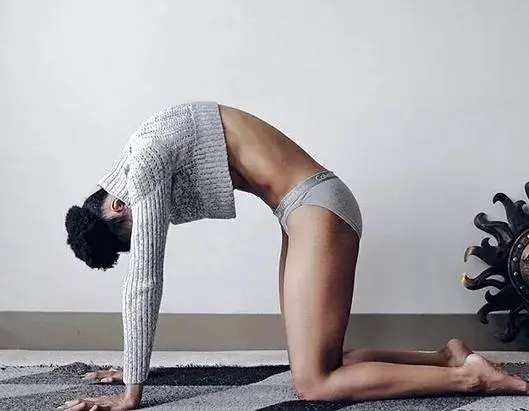
Complete 10-15 sets with breathing.
We know that the focus of the same movement can be different in different exercise sequences and exercise purposes. This is where you can focus more on the lower back, as if it were a warm-up for the entire spine and lower back.
2. Vajra sitting with fingers interlocked
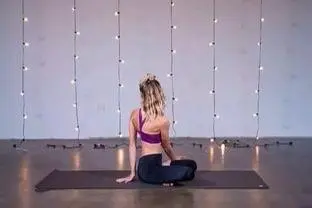
On the basis of a four-cornered bench, sit with your feet and knees together and your hips back on your heels.
When inhaling, lift your hands up above your head, interlock your fingers, and turn your palms upwards; when exhaling, sink your shoulders, push up the base of your palms and fingers, and rotate your big arms outward toward your ears.
Push the base of the palm to lift the side waist up, and push the base of the finger to lift the spine up. It feels as if the entire spine is pulled up from the middle of the pelvis. Of course the sit bones should sink down.
3. King Kong Sitting Twist
On the basis of the previous step, inhale and push up with both hands, and exhale to drive the body to the right from the lower abdomen.
Hold for 3 to 5 breaths, pushing your arms up on each inhale and twisting from your lower abdomen to the right on each exhale.
On the last exhalation, place your left hand on the outside of your right thigh, place your right hand on the ground behind your body, and look at the extension of your right shoulder. Hold for 3-5 sets of breaths.
Two points of attention: When twisting to the right, press the left hip, do not move, and do not leave the ground. At the same time, when the body twists to the right, do not turn the right hip to the right, stabilize the right ischium, and even consciously turn the right ischium Pushing forward and twisting backwards form a confrontation; the left hand and the outer right thigh are opposed, and the right hand pushes the ground to help the spine extend and twist.
4. King Kong sits forward and bends forward
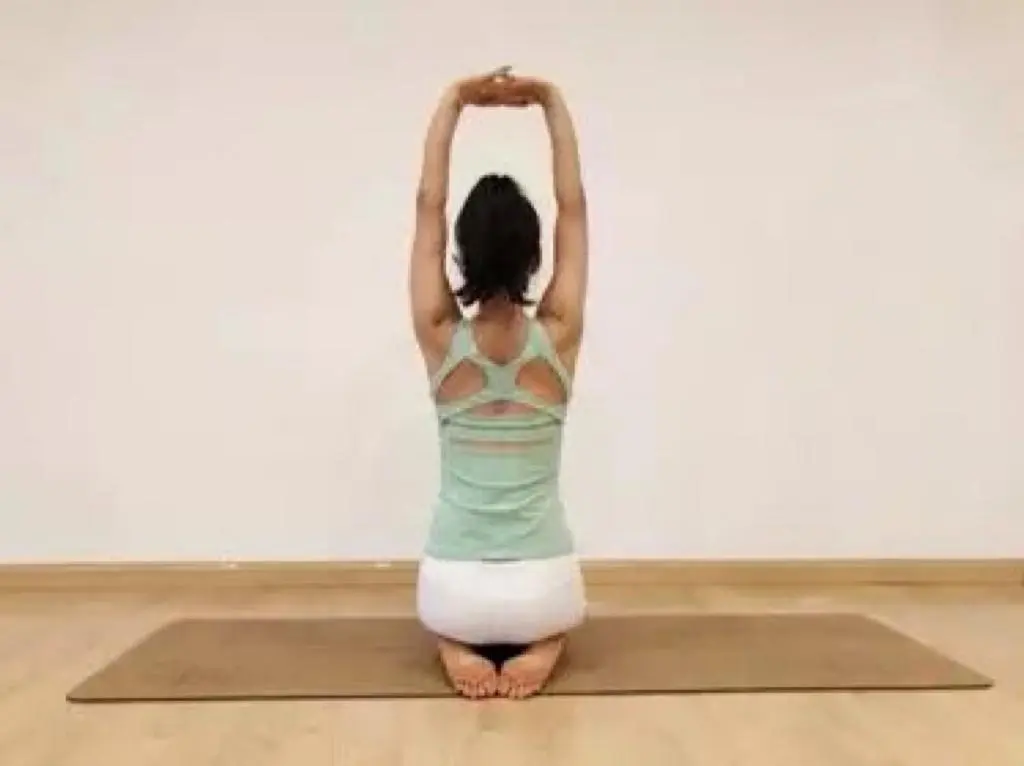
On the basis of the previous step, inhale and raise your hands up above your head, and exhale to bring your arms back to normal. Hold for 2 sets of breaths.
Extend when you inhale again, and when you exhale, bend your arms forward to your own range. You can hold yoga blocks, chairs, walls, etc. with both hands.
Hold 5-8 sets of breaths in the pose.
Get up, switch fingers, and practice on the opposite side.
Pay attention to stabilize the space brought by the extension and twist in the above two steps to the spine, and don’t rush down. Always stretch the front side of the body, keep the sit bones down, and slowly bend forward. Once you find that the front side is shortening and the back side has a tendency to round the back, stop and keep it. This is very important, not to give back the space in the spine that was finally pulled out. Your purpose is to stabilize the results of the first two steps, not to rush forward. The sequence we did is just to prepare for the forward bend.
5. Downward dog
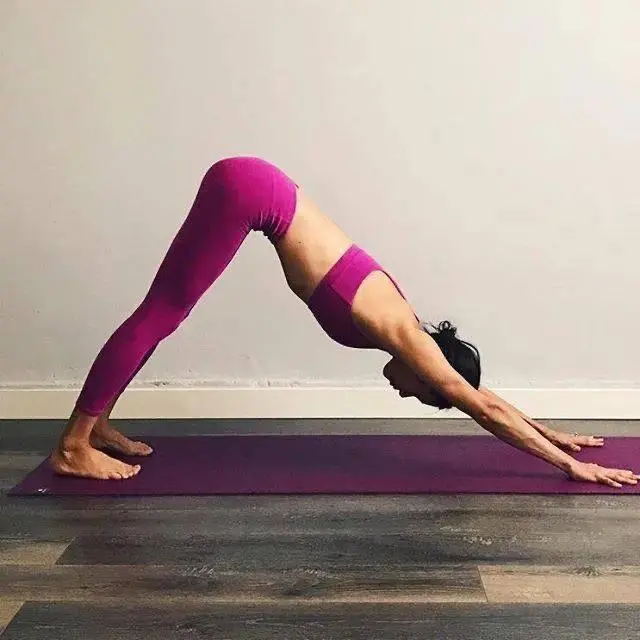
On the basis of the Vajra sitting and forward bending, open the hands a little wider to the sides, and the inner edge of the wrist and the outer edge of the shoulder are parallel.
Inhale, push the ground with both hands, lift the hips up, and step on the ground with the knees off the ground;
Hold 3 to 5 sets of breaths in the downward dog.
Push the front of the thigh back as you hold, extending the spine; the back of the arm is always in a straight line. Likewise, don’t let the front side drop, and don’t let the back side arch.
Although it is aimed at beginners, it only takes 10 minutes to complete a set, but this set of sequences is very sufficient and strong for the extension of the lower back. You can practice every day except during menstruation.
Read more tips about health and fitness http://www.growmorehealth.com
