Forward bends are inseparable from stretching the back of the leg. It is also the most practiced content when you are new to yoga. The order of practice for the major types of asanas in the “Iyengar Beginners Course” is: standing, sitting, forward bends, twists, handstands, abdominal strength, backbends, and repairs. This sequence is a step-by-step process. The front is the foundation of the back. Best yoga posture to increase back and leg flexibility
It can be seen that the forward bending class also has the same foundation. If the forward bending practice is not good, there is no way to follow up later.

But there are many people who are stuck in forward bending. Although stretching the back of the leg every day and strengthening forward bending, it seems that there is no effect at all.
Today, I will talk with you about a key point in deepening forward bending, fully extending the back of the leg, and improving the flexibility of the back of the leg: lifting the hips up.
“Raise the hips up”, this is a very important point when stretching the back of the leg to strengthen the forward bend exercise. It is a pity that many people do not know this point in the practice, or they know it but can’t do it, and some people mistakenly make “lifting the hips up” into “lifting the hips and slumping the waist”. Today, I will find this point with you in three steps. I hope it will help people who can’t deepen the forward bending and the flexibility of the back of the legs can’t always be improved.
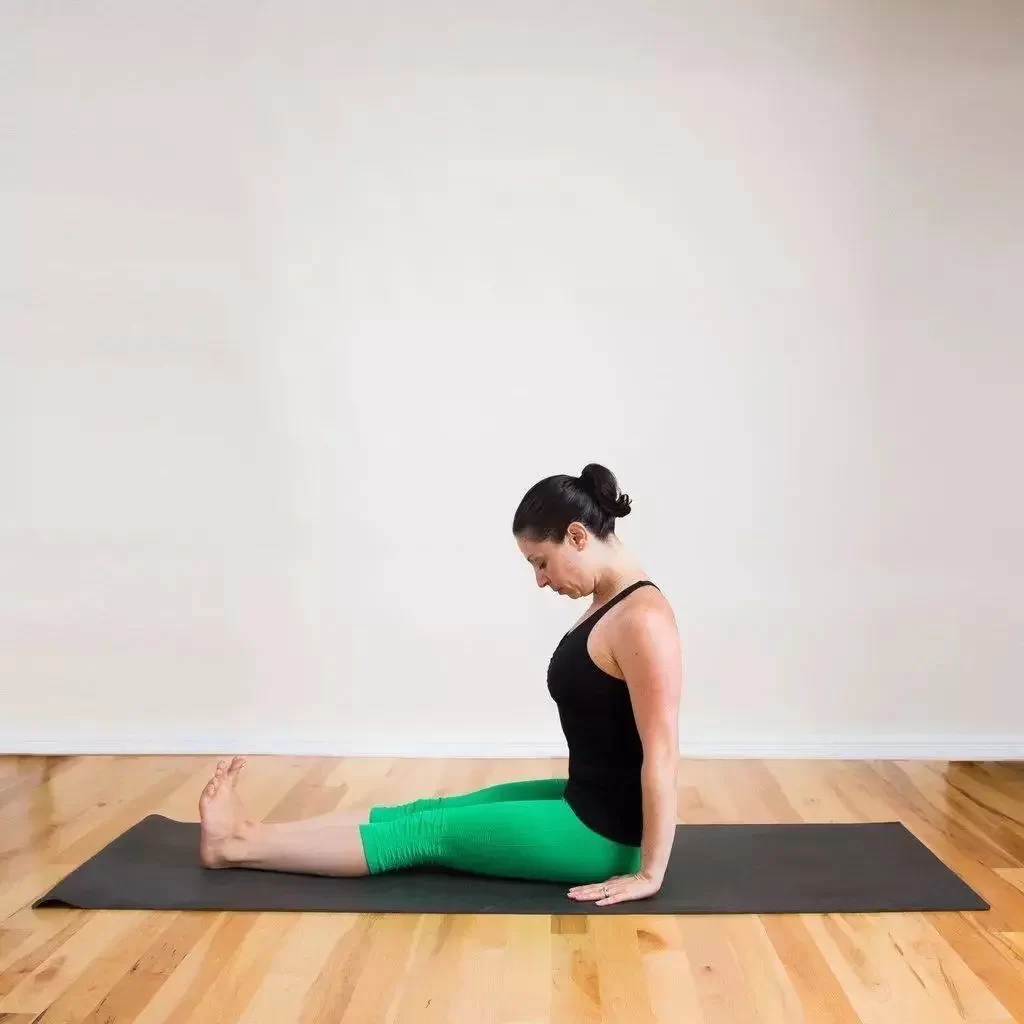
1.In Cane Pose, move your hips back to a seated forward bend.
Sit on a mat with your legs straight, your feet on the wall, and your hands on the ground behind your body
Lift the right hip and the right sitting bone up, pull the right sitting bone back a little, and drop the right hip
Lift your left hip and left sit bone up, and pull your left sit bone back a little, back onto the mat.
Repeat the cycle, keeping your feet on the wall.
To put it bluntly: keep your feet on the wall, and move your buttocks back one by one like walking backwards. Grab your toes or stretch the band as you go deeper into the forward bend.

As you move your hips from side to side, you’ll find that your spine is pushed forward into forward flexion. What you need to do at this time is not to lower your head in a hurry, let alone control the spine to force down into forward flexion, but keep raising your head and let the spine be pushed forward and downward flexibly. Hold at your limit, focus on your breath, and bring your breath to the back of your leg, allowing the back of your leg to relax, soften, and allow the spine to sink naturally.
I shared this method a few years ago. It was taught to me by my teacher when I first learned about teaching and training. At the time, I didn’t know the principle of this movement, only that it was very effective for strengthening forward bends, stretching the back of the legs and the back. In fact, it is “lifting the hips up and lengthening the back of the leg; the full extension of the back of the leg creates an upward force on the spine, allowing the spine to extend more.
“Hip up” is the direction when standing, and when sitting, the hips move back.
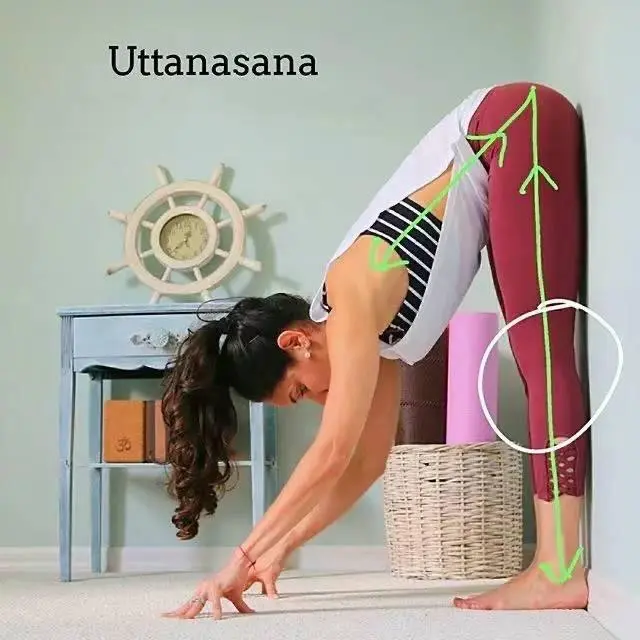
2.Move your hips up against the wall while standing forward
Stand with your heels against the wall, knees bent, hips against the wall, hands on the ground in front of your body, support on a brick or chair.
With your feet on the ground, slowly straighten your legs and move your hips up the wall.
You can first move the sitting bones upward with your hands in turn.

Push the front of the thigh back on each exhale to bring the back of the leg more against the wall, move the hips up again with each inhale, and repeat.
The details are the same as above, don’t control the spine down, don’t rush down into the forward bend, put the weight on the hips up, feel the sitting bones climb up the wall.
3.Raise the buttocks upward in the strengthening side stretch
The above two movements use the cushion and the wall as reference objects respectively to find the feeling of raising the buttocks. This time we drop the aids and give it a try. Enter Reinforced Side Stretch, as shown below,
Keep your feet on the ground and your legs straight, keeping your center of gravity and foundation stable
Put your hands on the ground, look up,

When inhaling, step down on the ground with your front foot, lift the back of your thigh toward your buttocks, and then send your buttocks farther along the extension line of your legs; when you exhale, extend your spine.
The point is still the same, don’t rush to lower your head into forward bends, and at the same time tighten your legs, especially your back legs, to stabilize the foundation.
These three steps are also a gradual process, until the assistive device is discarded and the hip lift is completed actively.
How important is the point of “raising the hips” to improve the flexibility of the back of the leg and strengthen the forward flexion, you will understand when you try it!
Read more tips about health and fitness http://www.growmorehealth.com
